
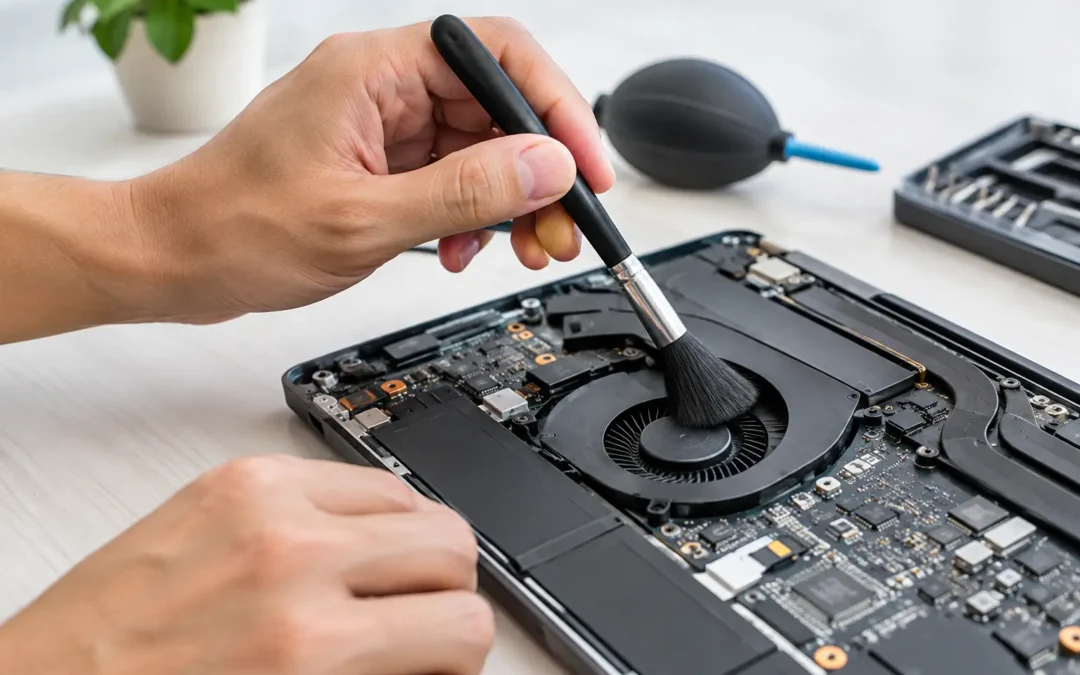
A laptop that suddenly sounds like a small vacuum cleaner is usually trying to tell you something. Dust can collect around the cooling fan and heat sink, restricting airflow until your computer runs hot, slows down, or shuts off unexpectedly. Knowing how to clean laptop fan components safely can restore normal airflow, but opening the wrong panel or using the wrong tool can turn a simple cleanup into a repair.
Signs Your Laptop Fan Needs Cleaning
A noisy fan is the most obvious sign, especially if it stays loud while you are only browsing, checking email, or working in a document. You may also feel excessive heat near the vents or underside of the laptop. Games, video calls, and editing software naturally make a computer work harder, but the fan should calm down once that demand stops.
Other warning signs include random slowdowns, a hot keyboard, frequent crashes, or a laptop that powers off without warning. Heat can force the processor to reduce its speed to protect itself. That means a dusty fan does not just make your laptop annoying to use. It can affect work, school, meetings, and the lifespan of internal components.
Dust is not always the cause. A failing fan can make grinding, clicking, or rattling noises. Old thermal paste, malware, too many startup programs, and a damaged heat sink can also cause overheating. Cleaning is a smart first step, but it is not a cure-all.
What You Need Before You Clean a Laptop Fan
For a basic vent cleaning, use a can of compressed air designed for electronics, a soft anti-static brush, and a microfiber cloth. If you plan to remove the bottom cover, you will also need the correct precision screwdriver set for your laptop model and a clean, well-lit workspace.
Avoid household vacuums, hair dryers, wet cloths, and canned air held upside down. A vacuum can create static electricity, while a hair dryer can push moisture and debris farther inside. Inverting compressed air can release liquid propellant, which should never touch your laptop’s internal parts.
Before you begin, save your work, fully shut down the laptop, unplug the charger, and remove all connected accessories. If your laptop has a removable battery, take it out. On many newer laptops, the battery is internal. Do not attempt to disconnect it unless you are comfortable opening the device and can identify the connector correctly.
How to Clean Laptop Fan Through the Vents
If your laptop is out of warranty or you simply want a low-risk first attempt, start by cleaning the exterior vents. This method will not remove every bit of packed dust, but it can make a real difference when buildup is light.
Place the laptop on its side or at an angle so loosened dust has a way out. Find the intake and exhaust vents, typically located on the bottom, sides, or near the hinge. Use short, controlled bursts of compressed air through each vent. Keep the can upright and hold it several inches away rather than pressing the nozzle against the opening.
Move from one vent to another so you are not forcing dust deeper into the system. A soft brush can loosen visible debris around the grilles before you use air. Wipe the outside with a dry microfiber cloth when finished.
Turn the laptop back on and listen. If the fan is quieter and temperatures improve, you may have cleared enough dust for now. If the noise, heat, or shutdowns continue, the fan and heat sink may need a more thorough internal cleaning.
Opening the Laptop for a Deeper Fan Cleaning
Internal cleaning is more effective, but it comes with more risk. Laptop designs vary widely. Some models provide easy access through a bottom panel, while others require removing hidden screws, rubber feet, or delicate clips. A mistake can crack the cover, strip a screw, damage a ribbon cable, or affect warranty coverage.
First, look up your exact make and model’s service layout before removing anything. Take a photo of the bottom case and screw locations as you work. Screws can have different lengths, and putting a long screw in the wrong hole may damage the motherboard or screen assembly.
Once the bottom cover is off, disconnect the internal battery if it is accessible and you know how to do so safely. Locate the fan, which is generally connected to a copper heat pipe and covered by a small plastic housing. Do not pull on the fan cable. Disconnect it gently from the plug if removal is necessary.
Use a soft anti-static brush to loosen dust from the fan blades, housing, and heat sink fins. Then use short bursts of compressed air to lift debris away. Hold the fan blades still with a nonmetallic tool or a finger protected by a clean glove while blowing air. Letting the fan spin freely at high speed can damage its bearing or generate electricity that may harm the board.
Do not spray liquid cleaner into the fan. Do not scrape the heat sink fins, which bend easily and restrict airflow when damaged. If the dust is packed into the heat sink behind the fan, removing the fan may be necessary. At that point, stop if you are uncertain. A technician can disassemble and reassemble the cooling system without risking nearby connectors.
Do You Need to Replace Thermal Paste?
Not for every fan cleaning. Thermal paste sits between the processor and heat sink, and replacing it requires removing the heat sink assembly. Once removed, the old paste should be cleaned and correctly reapplied before the computer is turned on.
This job can help an older laptop with chronic overheating, but it is not a casual add-on. Using too much paste, installing the heat sink unevenly, or forgetting a screw can create worse temperature problems. If your laptop is several years old and still overheats after a proper fan cleaning, professional diagnostics are usually the better next move.
Common Mistakes That Can Damage a Laptop Fan
The fastest way to make this repair more expensive is to use too much force. Laptop cases are not built like desktop towers, and small clips break easily. Work slowly and never pry hard against a cover that will not release. You may have missed a screw.
Another common mistake is blowing compressed air directly into a spinning fan for too long. Use brief bursts and stabilize the blades. Also, keep drinks, cleaning sprays, and moisture away from the workspace. Even a small amount of liquid can cause corrosion or a short circuit.
If your battery looks swollen, stop immediately. A bulging bottom case, lifted trackpad, or case seam that will not sit flat can signal battery swelling. Do not press on it, puncture it, or keep charging the laptop. This needs prompt professional attention.
When to Leave Laptop Fan Cleaning to a Technician
A basic vent cleaning is reasonable for many laptop owners. Internal service is different when the device is expensive, thin, under warranty, or essential for your job or classes. It also makes sense to call for help when the fan makes mechanical noises, fails to spin, the laptop displays temperature errors, or it still overheats after dust removal.
Houston customers who need their computer working without a long mail-in delay can bring it to Phone Repair Ambulance for laptop diagnostics and cleaning support. A trained technician can determine whether the problem is dust, a worn fan, failed thermal paste, battery swelling, or a deeper board-level issue.
Keep Dust From Building Up Again
Cleaning works best when paired with better airflow habits. Use your laptop on a hard, flat surface instead of a bed, couch, blanket, or carpet that blocks the intake vents. Keep pets away from the workspace when possible, since hair is especially good at wrapping around fan assemblies.
A quick exterior vent check every month can prevent heavy buildup. For most users, a deeper inspection every six to twelve months is enough, though homes with pets, smokers, construction dust, or frequent travel may need it sooner. If heat returns quickly after cleaning, do not keep pushing the laptop through shutdowns. A fan that can move air properly is a small part with a big job, and addressing the problem early protects the computer you depend on.