
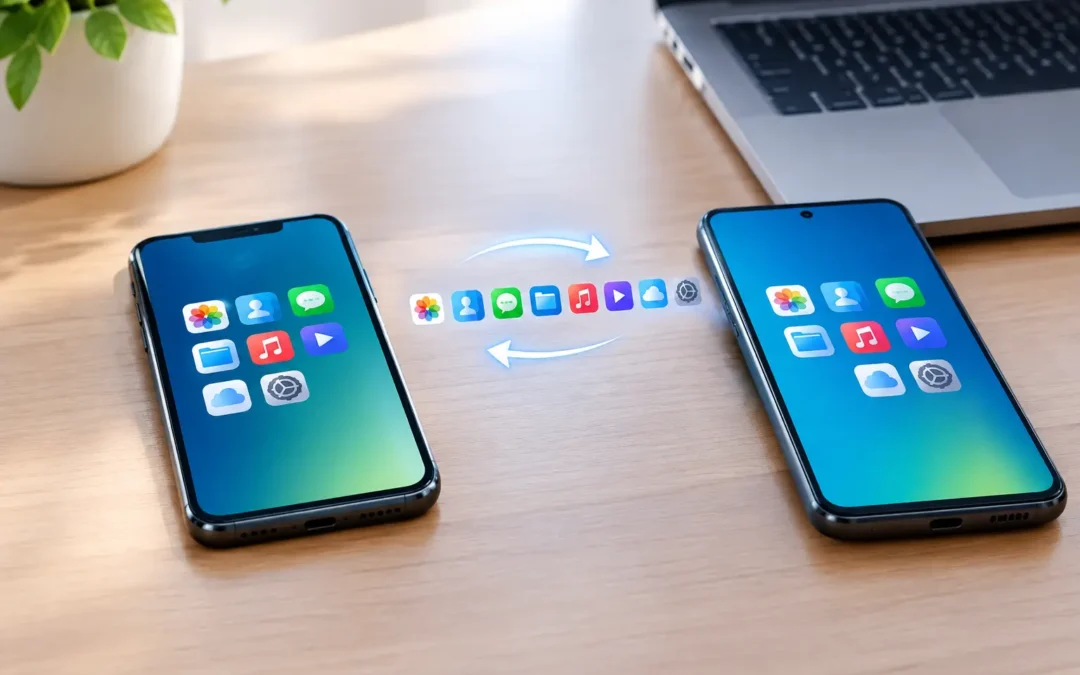
A new phone should feel exciting, not like a high-stakes test of whether your photos, messages, contacts, and work apps will make the trip. Knowing how to transfer phone data before you erase, trade in, or repair your old device can prevent the kind of loss that is hard to replace later.
The right method depends on the phones involved and the condition of the old one. A working iPhone moving to another iPhone is usually straightforward. Switching from Android to iPhone, or trying to recover data from a phone with a black screen, takes more planning. Start with one rule: do not factory-reset, sell, or hand over your old phone until you have checked the new one.
Before You Transfer Phone Data, Do These Checks
Give yourself time to complete the transfer while both phones are charged, connected to reliable Wi-Fi, and close together if you are using a direct wireless setup. A large photo library, years of messages, or lots of apps can make the process take longer than expected.
First, confirm that you know the passwords for your Apple Account or Google Account. You may also need your old phone passcode, your carrier PIN, and login details for important apps. Banking, work, school, authenticator, and password manager apps often require a separate sign-in even when the rest of the phone transfers correctly.
Next, make a fresh backup if your old phone still works. Cloud backups are convenient, but they are only useful if they completed successfully. Check the date and time of the most recent backup, then verify that photos, contacts, and messages are included. If you have enough computer storage, a local encrypted backup can add another layer of protection for iPhone data.
Finally, make a short list of what matters most. For most people, that means contacts, photos and videos, text messages, notes, call history, app data, passwords, and files in downloads or cloud storage. This list makes your final check much easier.
Moving From iPhone to iPhone
For a new or recently erased iPhone, Apple’s Quick Start setup is usually the fastest option. Turn on the new iPhone and place it near the old one. Follow the on-screen prompts on both devices, authenticate with your Apple Account, and choose to transfer directly from the old iPhone or restore from a backup.
A direct device-to-device transfer is useful when your old iPhone has plenty of battery life and a stable connection. It can bring over settings, apps, photos, messages, and many accounts without making you wait for everything to download from the cloud. Keep both phones powered and leave them alone until the process finishes.
Restoring from iCloud works well when the old phone is not nearby or you already have a current backup. The new phone may be usable before every photo and app finishes downloading, so do not mistake a partially completed home screen for a completed transfer. Let it stay on Wi-Fi and power until your photo library and critical apps appear.
After setup, open Messages, Photos, Contacts, Notes, and any app you use for work or payments. Send a test text, make a test call, and check that your number is active. If you use an Apple Watch, unpairing it from the old iPhone before the move can create a fresh watch backup and make pairing to the new phone easier.
Moving From Android to Android
Most current Android phones guide you through data transfer during initial setup. Depending on the brands involved, you can use a USB-C cable, a wireless transfer option, or a Google backup. A cable is often the best choice for large photo libraries because it is typically faster and less likely to stall than a crowded Wi-Fi connection.
Sign in with the same Google Account on the new phone, then select the data you want to copy. Contacts, calendar entries, many app settings, text messages, photos, and apps can usually transfer. Some app data will not move automatically, especially secure apps and games that do not save progress to an account.
Android manufacturers may also offer their own migration tools. These can be useful when you are moving between two phones from the same brand because they may copy home-screen layouts, settings, and more device-specific content. Still, check the results instead of assuming every item came over.
If your photos are backed up to Google Photos, they may appear gradually after you sign in rather than copying all at once. That is normal. Make sure the old phone shows that backup is complete before you reset it.
Switching Between iPhone and Android
A platform switch is where people most often find missing messages, duplicate photos, or login problems. The transfer tools are helpful, but no tool moves every type of data perfectly.
Moving from Android to iPhone is easiest during the iPhone’s first setup. Apple provides an option to move data from Android, which can transfer contacts, message history, photos, videos, calendars, and some other content. Keep both phones connected to power and do not use either one until the transfer is complete.
Moving from iPhone to Android is usually done through the Android setup process, often with a cable or a manufacturer’s transfer app. You may be able to bring over contacts, photos, messages, and some apps. Before you remove your SIM or erase the iPhone, turn off iMessage and FaceTime. If you skip this step, friends with iPhones may continue sending messages to iMessage instead of your new phone.
Be ready to handle a few items manually. Paid apps may need to be purchased again if they are not available on the new platform. Notes stored only in iCloud may need to be exported or moved to another service. Passwords, health data, smartwatch data, and files saved inside individual apps often need their own transfer method.
Do Not Forget Authentication Apps and eSIM
Two categories deserve special attention because they can lock you out after everything else appears to transfer: two-factor authentication apps and phone service.
Before you wipe the old phone, move codes from apps such as Google Authenticator, Microsoft Authenticator, Authy, or your employer’s security app. Each app handles migration differently. Some let you export accounts with a QR code; others require you to approve the new device or use recovery codes. If you are unsure, save recovery codes somewhere secure before starting.
For cellular service, physical SIM cards can often be moved to the new phone if they are compatible. eSIM transfers vary by carrier and phone model. During setup, you may see an option to transfer your number. If not, contact your carrier or use its app before trading in the old device. Do not erase a phone with an active eSIM until your new phone can place calls and receive texts.
What to Do If the Old Phone Is Damaged
A cracked screen does not always stop a transfer. If the phone powers on, responds to touch, and can connect to Wi-Fi, back it up immediately. Even a phone with a damaged display may still allow a technician to help retrieve data if the device can boot and be unlocked.
Water damage, a dead battery, charging failure, or a black screen is more complicated. Data recovery is not guaranteed, especially if the phone cannot power on or the storage has been damaged. Avoid repeated charging attempts after water exposure, and do not reset the phone in hopes that it will start working. A reset can remove the very information you are trying to save.
For Houston customers dealing with a damaged device, Phone Repair Ambulance can assess whether a repair is needed to get the phone stable enough for backup or transfer. In many cases, fixing a display, charging port, or battery first is the practical path to recovering your photos, messages, and contacts.
Verify Everything Before You Erase the Old Phone
The transfer is not finished when the new phone turns on. Check your most recent photos and videos, search for older photos, confirm your contacts are complete, and open recent text conversations. Sign in to your email, banking, work, school, and social apps. Verify your authenticator codes and make sure calls and texts reach the new phone.
Then look for data that tends to hide in unexpected places: voice memos, downloads, saved PDFs, notes, health records, messaging apps, and files stored on the phone instead of in the cloud. If you use WhatsApp or another chat app, confirm that its in-app backup and restoration process is complete.
Only after these checks should you sign out of accounts, remove the device from Find My or your Google account, erase the old phone, and prepare it for trade-in or resale. Taking an extra ten minutes here can save days of trying to recover a missing account or irreplaceable photo.